Fighting the printer
I'm on the tail end of the print for the Astro mount with the guider being the last main part I want printed before the hardware shows up. With the pinter running near 24/7 I'm chewing through a lot of filament, it gets pretty frustrating when prints start failing at an alarming rate. In the last 10 prints, I think I got 2 successful prints untill I realised I ended up with an axis skip.
This is one of many Y belt shifts I've had in the past week. One of these being a 40hr print that happened in the last 3 or so hours of the print. Saying I was frustrated is an understatement. After these last couple prints I was onto another roll of pla, in this case a roll of matte black and along with a soaked roll of PC-Nylon blend this has to be one of the worst rolls I've ever used.
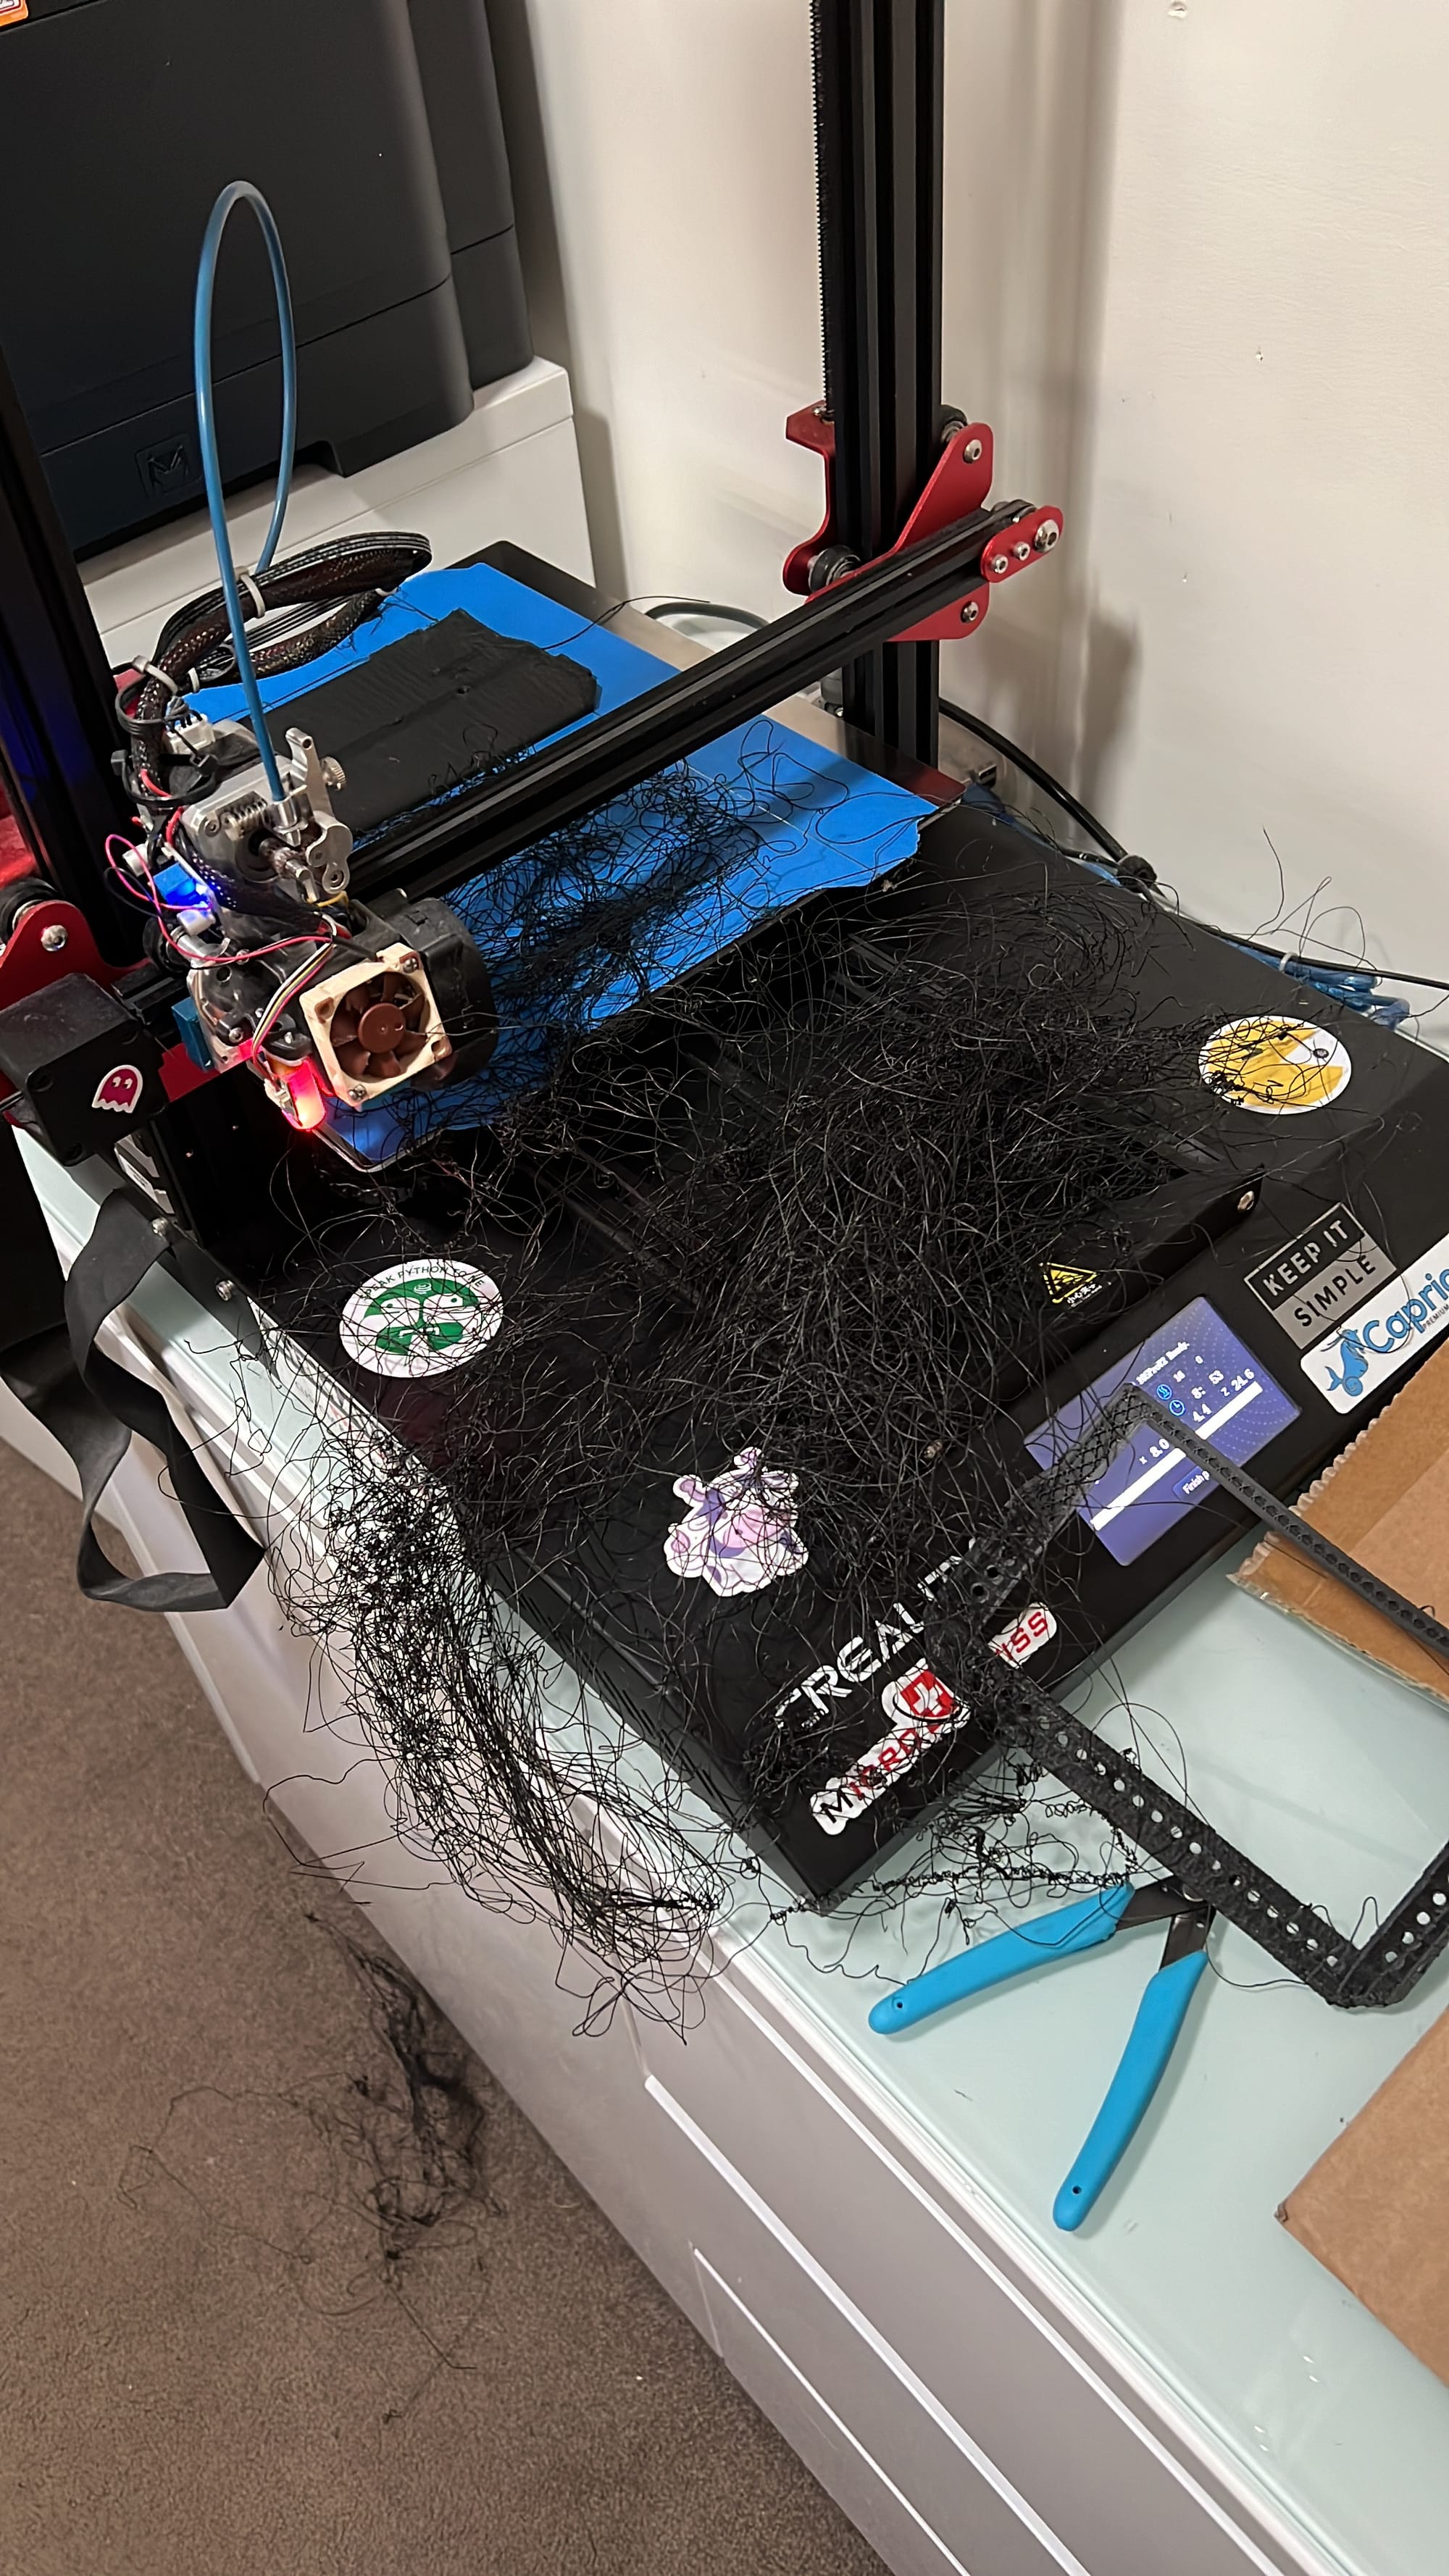
Yeah, waking up to this was both shocking and infuriating. Not only was this a waste but interestingly my first all out spaghetti monster, you can even see the heat-break fan jammed up by a stray spaget.
Even the tried and trusted blue tape method didn't go to plan with this stuff initially, but in my frustration and hastiness to get the next job out I neglected the first step - level the damn bed. But I also went through and checked the belt tension, revised my print speeds, cooling, spent some time re-adjusting the v-groove wheels and then tried again.
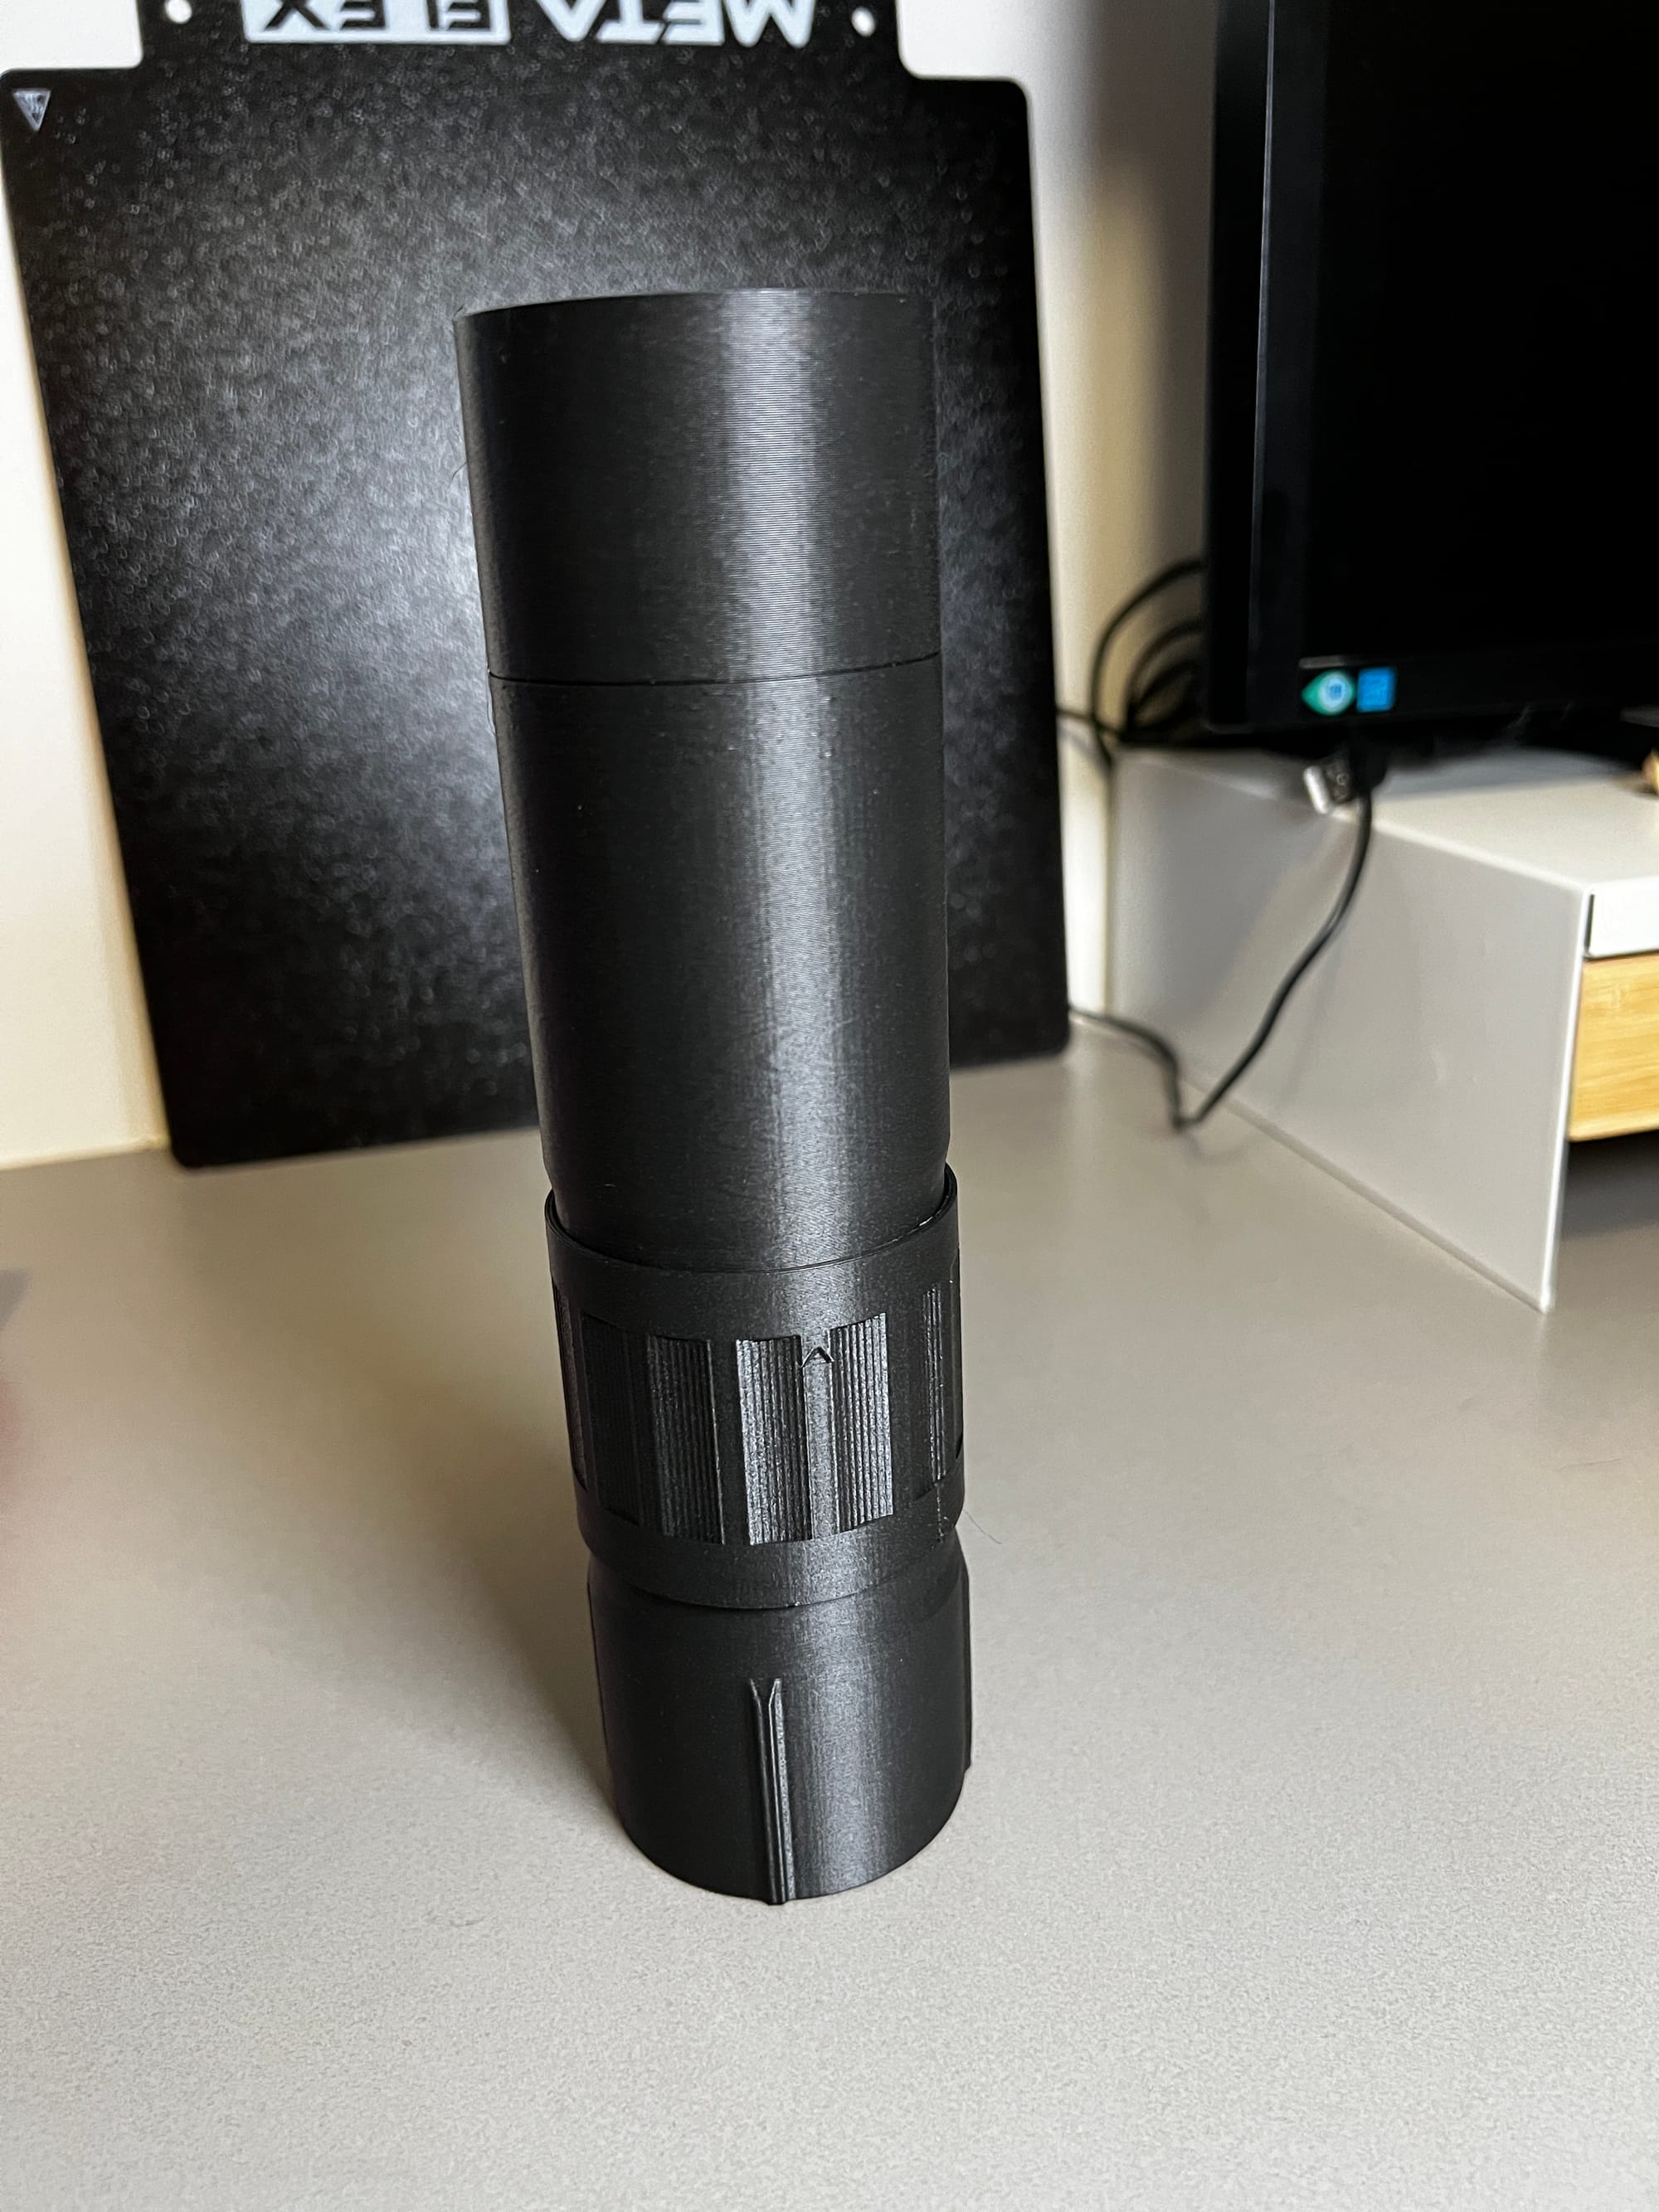
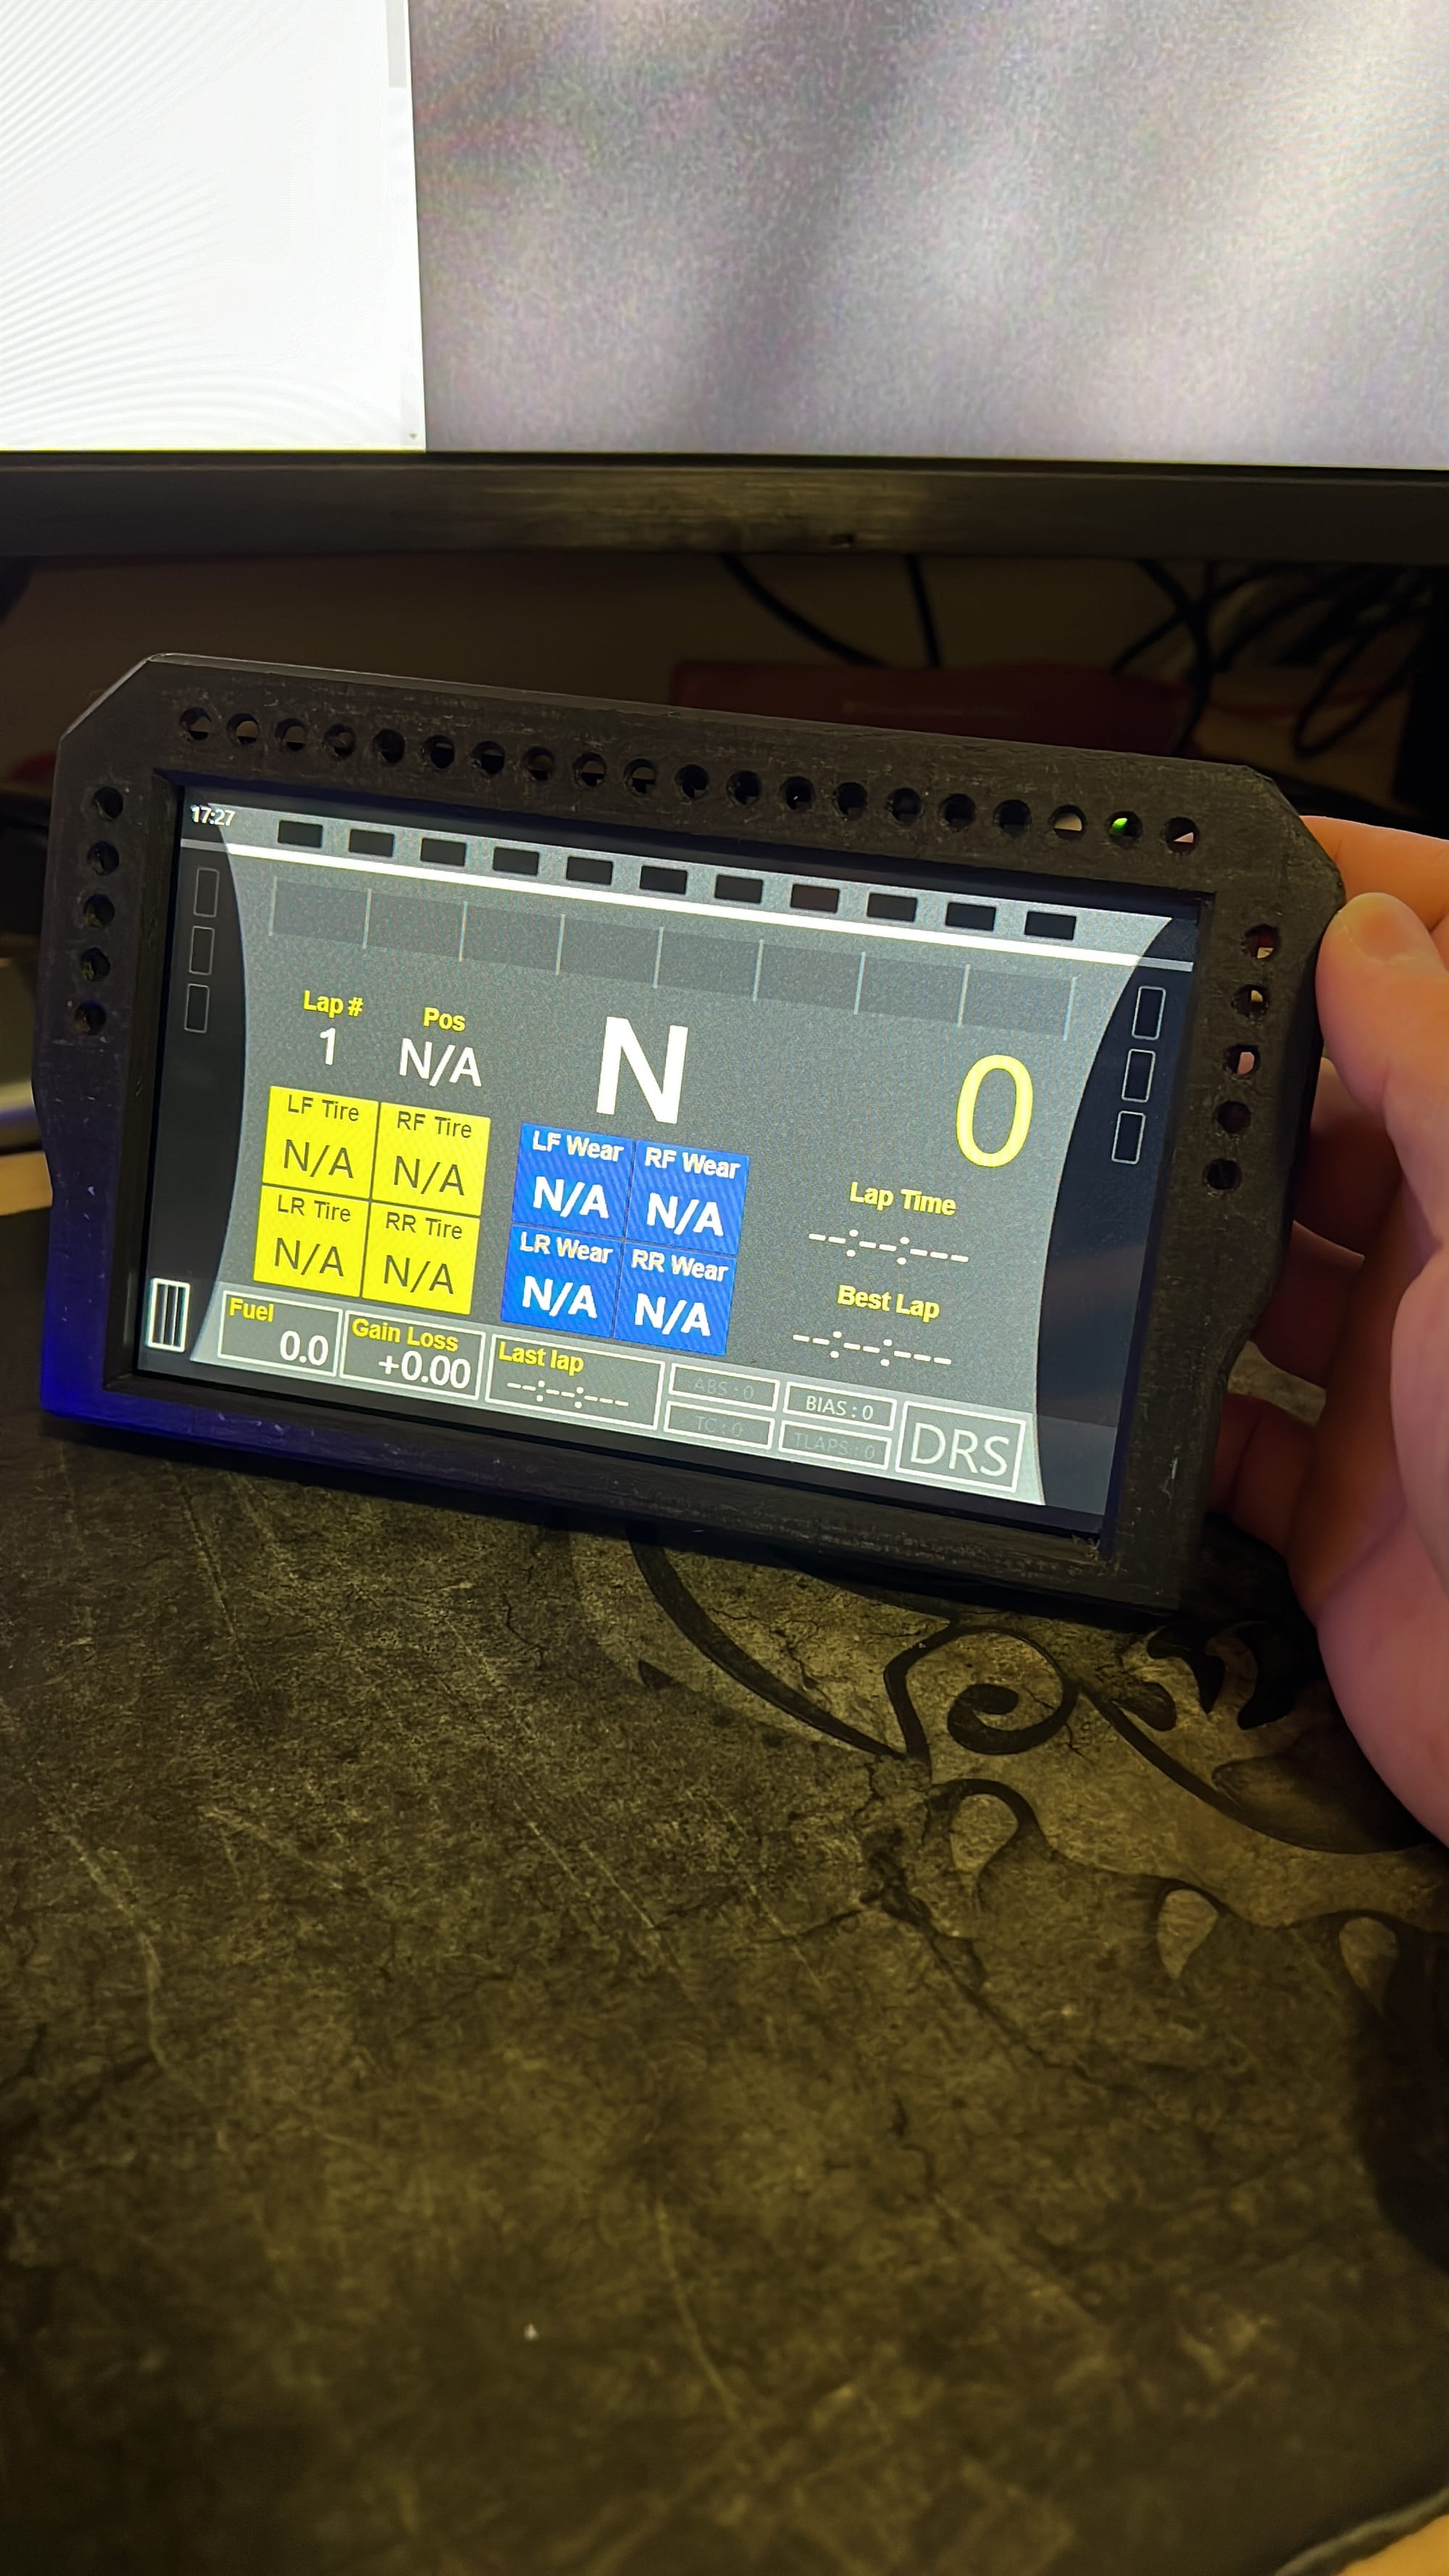
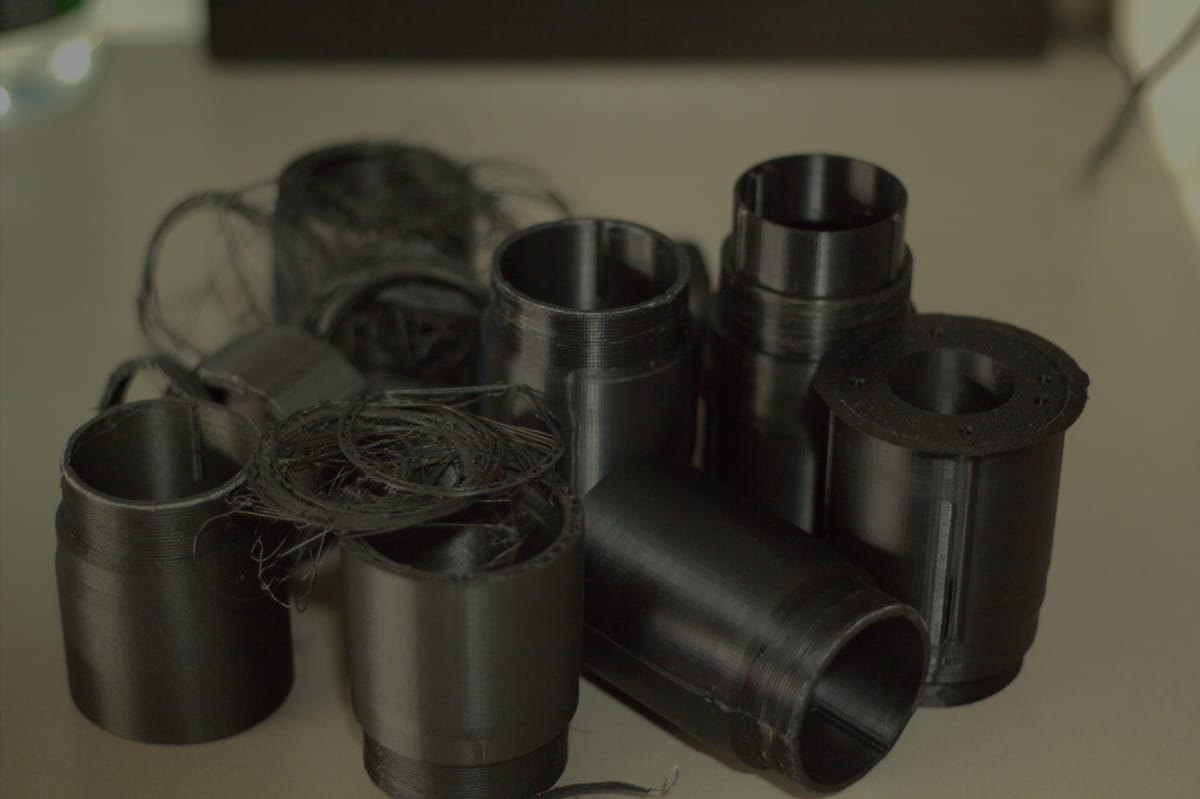
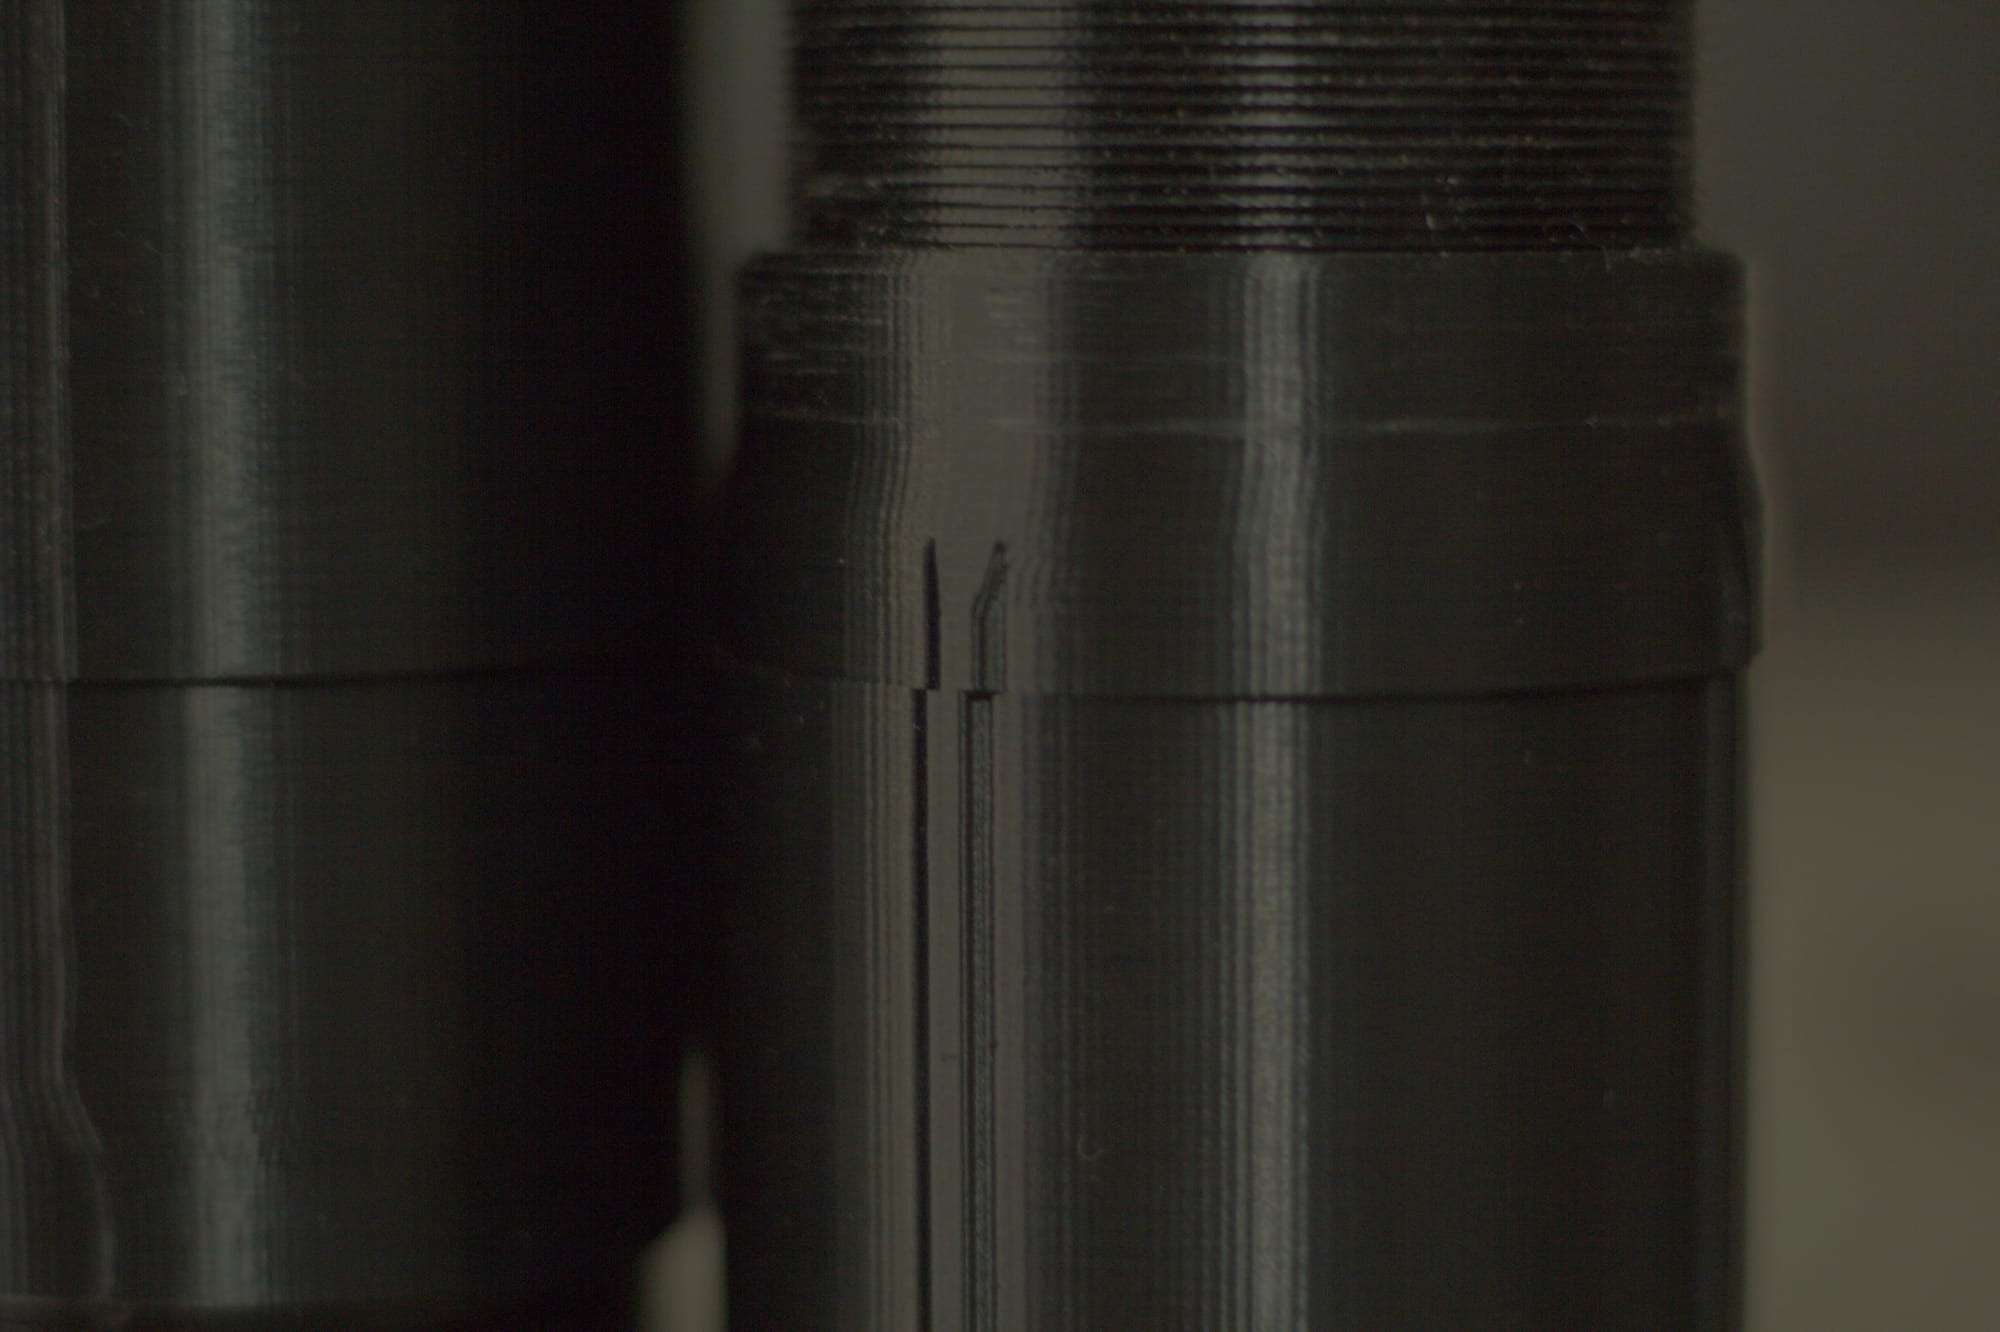
Finally some finished parts. The guider isn't done, still have a few parts left but I got further along with a sim racing dash then I thought I would and just had enough of trying to get the guider done. Along with the CAD model I got the PCB for my dash and a fellow makers PCB designed and sent to the fab.

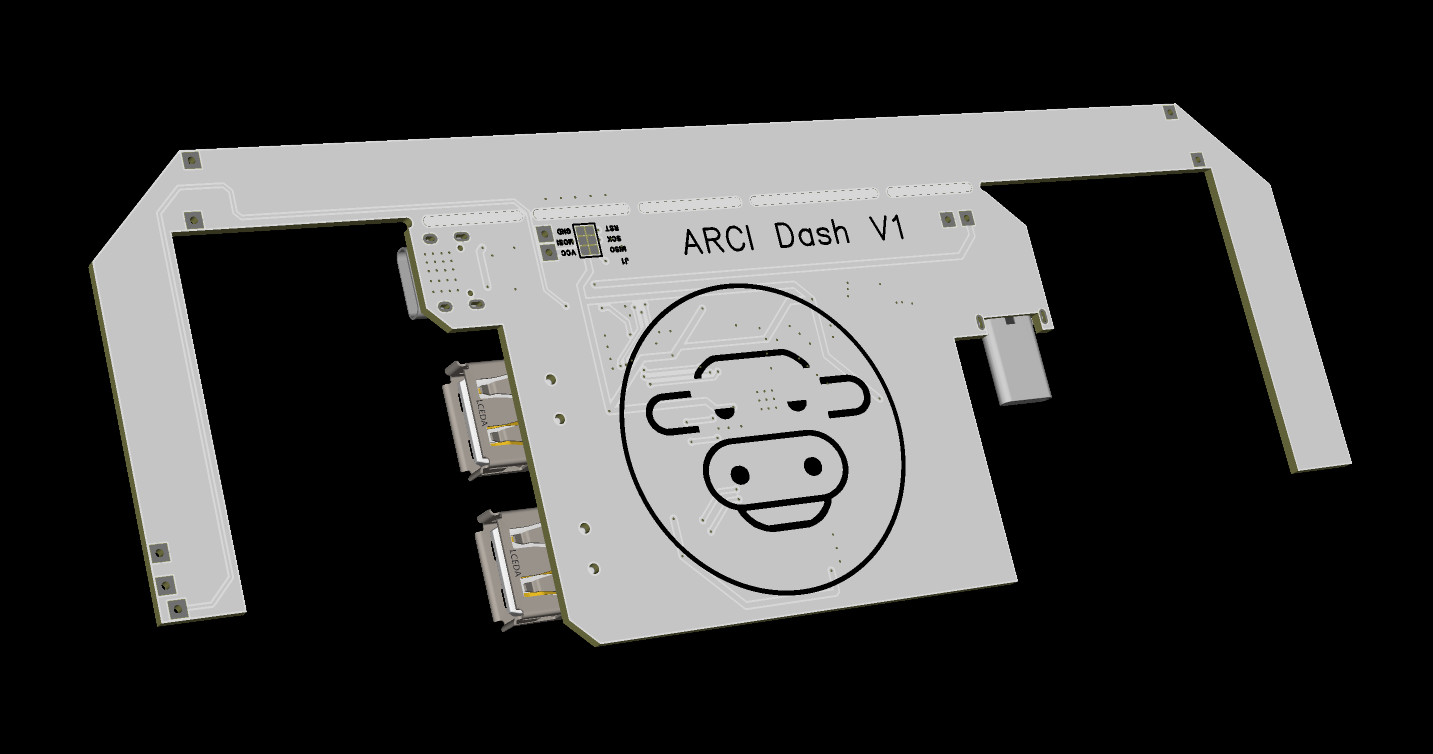
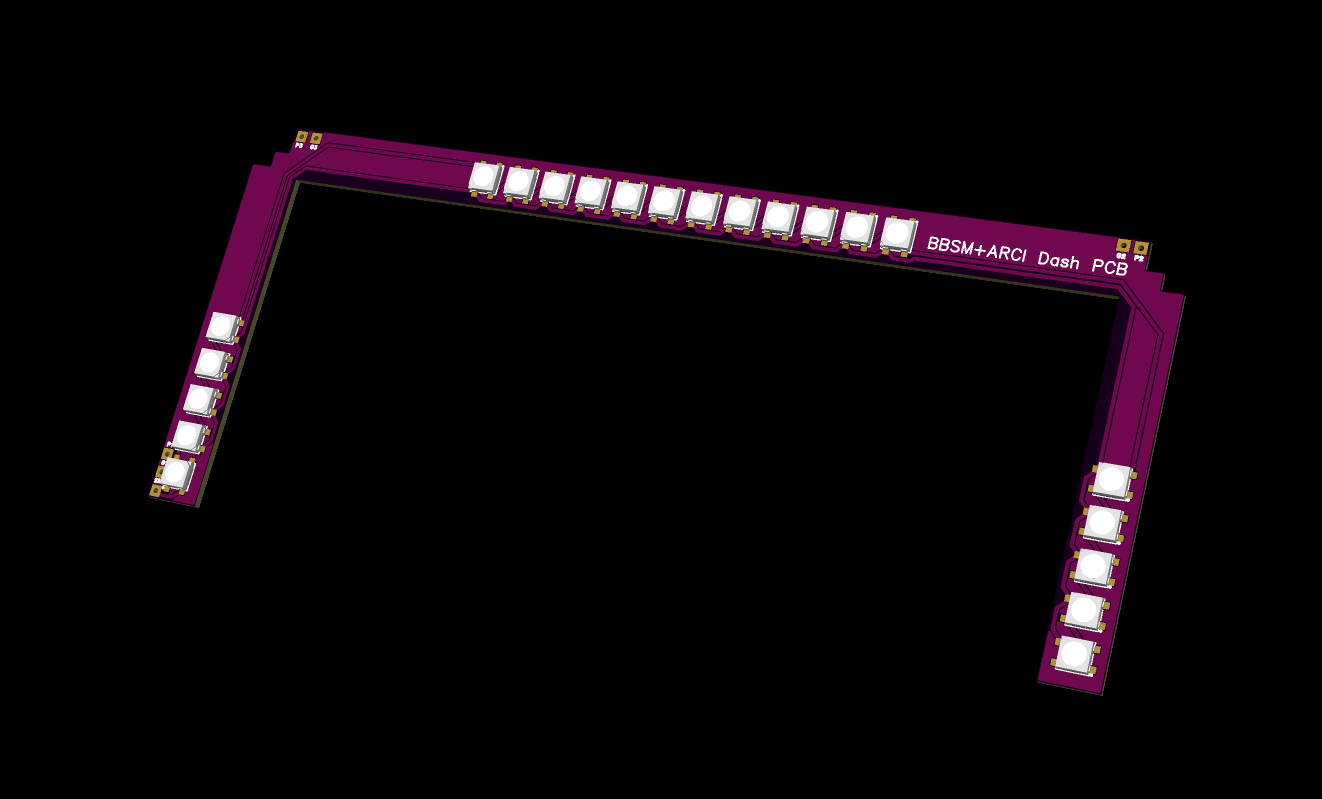
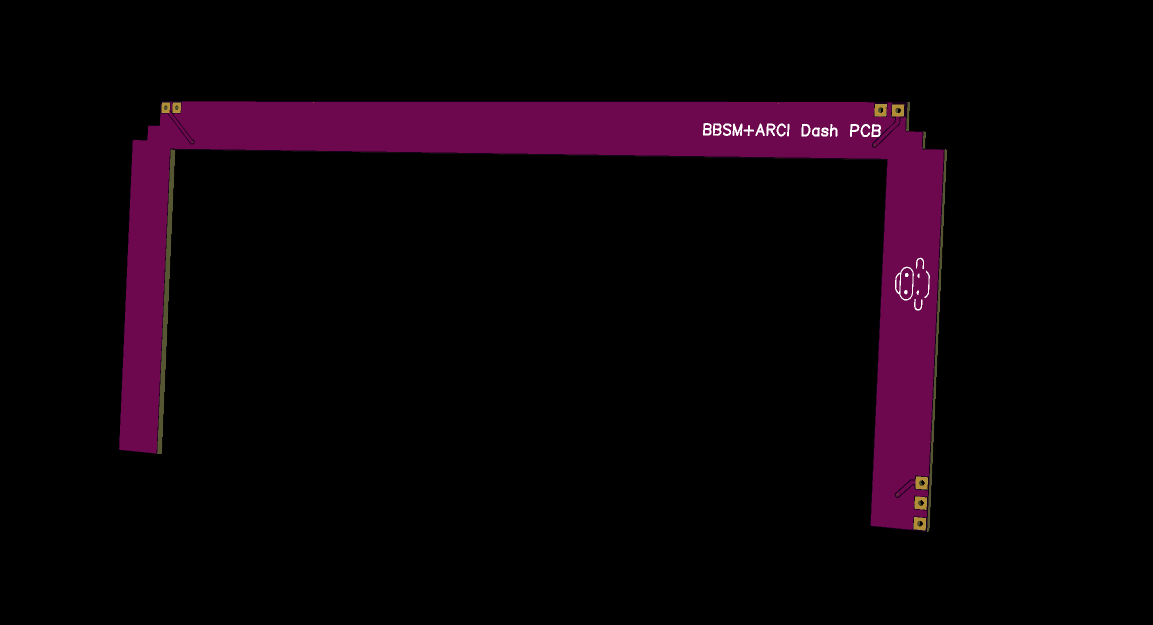
This was a fun challenge. In the ARCI Dash PCB design, I again used ICs I've never played with before and this PCB was designed with physical constraints in mind. The VoCore screen I'm using in the dash has a small display driver hanging off a ribbion cable so I had to position a male USB-C port in the correct spot, then the USB hub controller I have used has four ports and I only needed two, so for less than a dollar I added spare USB-A headers but had to position them on the side of the case to make them actually useful. Finally the USB-C female input, this circuit I think I've gotten right from the research I've done. Oddly enough I got the base schematic from a forum where someone mistakenly used the wrong resistors.
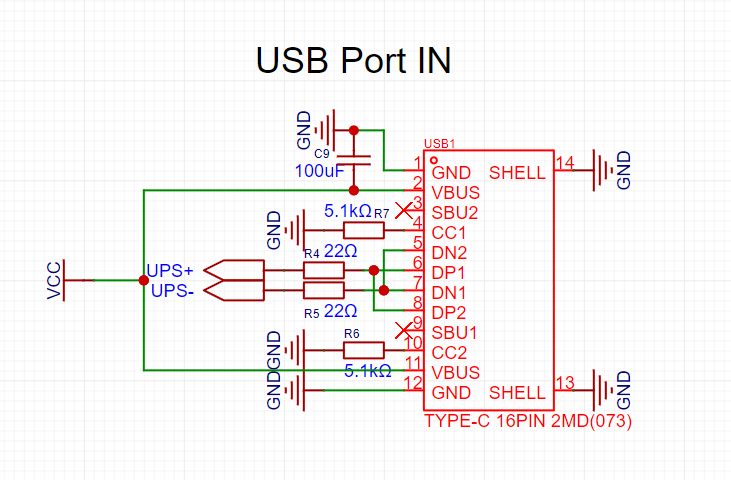
From what I remember in the mess that the USB standard is, this should be USB3 compliant and allow up to 3A over the 5V line. This should be more than enough to run the screen, the 30 LEDs and then leave enough headroom for the pair of extra USB-A ports.
Of course I won't know if I got it right until I plug it in and try to program the AtMega chip. If all goes to plan the PCB will be available to purchase on the store. I'm also going to release the Gerbers for the PCB in the Supporter Plus file repo to print your own Dash PCB. So keep an eye out for when that's available.